Diffusersで高解像度の画像を生成する
ここ1~2ヶ月、DiffusersとModalを使って画像生成の方法を模索していました。知見がたまり、ある程度自由に画像生成できるようになったと思います。せっかくなので、コーディングでつまった箇所や工夫した点をブログにまとめることにしました。この記事では、Diffusersで高解像度の画像を生成する方法について整理します。
Table of Contents
背景
Stable Diffusion 1.5、または2系では、生成画像のサイズは標準で512x512、せいぜい1024程度まで。それ以上の解像度の画像を作ろうとすると、人物や背景が崩れてしまいます。1920pや4kの自然な画像を作るには工夫が必要となります。例えば、下記のような方法を私は試しました。
- Upscalerを使う
- diffusersのupscaler
- サードパーティ性のupscaler「Real-ESRGAN」
- ControlNet 1.1 Tileを使う
最終的にはControlNet 1.1 Tileとupscalerを組み合わせる方法に落ち着きました。
Upscalerを使う
diffusers が提供している upscaler を利用する
diffusersではいくつかのupscalerを利用することができます。
Latent Upscaler(x2)
Stable Diffusion Latent Upscalerと呼ばれる、出力画像の解像度を2倍に高めるモデルが提供されています。
ベース画像を生成または用意し、Latent Upscalerのパイプラインに渡して推論を実行することで、2倍の解像度の画像が得られます。
 1model_id = "stabilityai/sd-x2-latent-upscaler"
 2upscaler = StableDiffusionLatentUpscalePipeline.from_pretrained(model_id, torch_dtype=torch.float16)
 3upscaler.to("cuda")
 4
 5upscaled_image = upscaler(
 6    prompt=prompt,
 7    image=base_image, " ←ここにベース画像を渡す
 8    num_inference_steps=20,
 9    guidance_scale=0,
10    generator=generator,
11).images[0]
Super-Resolution(x4)
stable-diffusion-x4-upscalerは、出力画像の解像度を4倍にするモデルです。使い方はLatent upscalerとほぼ同じです。
サードパーティ製のアップスケーラー「Real-ESRGAN」を利用する
Real-ESRGANは高解像度の画像を出力するためのアプリケーションです。 利用するにはいくつかの依存ライブラリとReal-ESRGAN本体のコードを実行環境に導入する必要があります。
↓必要なライブラリ。pip installで導入。
realesrgan==0.3.0
basicsr>=1.4.2
facexlib>=0.3.0
gfpgan>=1.3.8
下記をwgetやなんらかの手段でダウンロード。
https://github.com/xinntao/Real-ESRGAN/releases/download/v0.1.0/RealESRGAN_x4plus.pth
https://github.com/xinntao/Real-ESRGAN/releases/download/v0.1.1/RealESRNet_x4plus.pth
https://github.com/xinntao/Real-ESRGAN/releases/download/v0.2.2.4/RealESRGAN_x4plus_anime_6B.pth
https://github.com/xinntao/Real-ESRGAN/releases/download/v0.2.1/RealESRGAN_x2plus.pth
https://github.com/TencentARC/GFPGAN/releases/download/v1.3.0/GFPGANv1.3.pth
UpscalerとControlNet 1.1 Tileを組み合わせる
荒い画像を元にアップスケールする場合、顔の崩れや背景の荒い箇所がそのまま拡大されてしまいます。 それを修正する方法の一つとして、img2img 機能を使うやり方があります。一度アップスケールした画像と共に、同じプロンプトと seed を diffusers に渡して再度推論を行うことで、荒い箇所を整えることが可能です。
stable-diffusion-webui では hires.fix と呼ばれる機能で実装されているようですが、2023/07/15 時点、diffusers ではまだ機能として提供されていないようでした。そのため、自力で実装しました。
試行錯誤の結果、下記手順の処理でGPUの使用率を抑えつつ、納得いく仕上がりの画像を生成することができました。
- txt2imgでベース画像を生成
- ベース画像を2~4倍に拡大(Upscalerによるアップスケールではなく、単純な画像のサイズ変更)
- 2の画像をControlNet Tileでimg2img推論
- 3の画像をUpscalerで高解像度化
下記は実装したコードの一部。全体はGitHubのコードを参照のこと。
 1def run_inference(
 2    self,
 3    prompt: str,
 4    n_prompt: str,
 5    height: int = 512,
 6    width: int = 512,
 7    samples: int = 1,
 8    batch_size: int = 1,
 9    steps: int = 30,
10    seed: int = 1,
11    upscaler: str = "",
12    use_face_enhancer: bool = False,
13    fix_by_controlnet_tile: bool = False,
14) -> list[bytes]:
15
16    """
17    1. ベース画像の生成
18    """
19    max_embeddings_multiples = self._count_token(p=prompt, n=n_prompt)
20    generator = torch.Generator("cuda").manual_seed(seed)
21    self.pipe.to("cuda")
22    self.pipe.enable_vae_tiling()
23    self.pipe.enable_xformers_memory_efficient_attention()
24    with torch.autocast("cuda"):
25        generated_images = self.pipe(
26            prompt=prompt * batch_size,
27            negative_prompt=n_prompt * batch_size,
28            height=height,
29            width=width,
30            num_inference_steps=steps,
31            guidance_scale=7.5,
32            max_embeddings_multiples=max_embeddings_multiples,
33            generator=generator,
34        ).images
35
36    base_images = generated_images
37
38    """
39    2と3. ベース画像のサイズ拡大とControlNet Tileによる整形
40    """
41    if fix_by_controlnet_tile:
42        self.controlnet_pipe.to("cuda")
43        self.controlnet_pipe.enable_vae_tiling()
44        self.controlnet_pipe.enable_xformers_memory_efficient_attention()
45        for image in base_images:
46            image = self._resize_image(image=image, scale_factor=2)
47            with torch.autocast("cuda"):
48                fixed_by_controlnet = self.controlnet_pipe(
49                    prompt=prompt * batch_size,
50                    negative_prompt=n_prompt * batch_size,
51                    num_inference_steps=steps,
52                    strength=0.3,
53                    guidance_scale=7.5,
54                    max_embeddings_multiples=max_embeddings_multiples,
55                    generator=generator,
56                    image=image,
57                ).images
58        generated_images.extend(fixed_by_controlnet)
59        base_images = fixed_by_controlnet
60
61    """
62    4. Upscalerによるアップスケール
63    """
64    if upscaler != "":
65        upscaled = self._upscale(
66            base_images=base_images,
67            half_precision=False,
68            tile=700,
69            upscaler=upscaler,
70            use_face_enhancer=use_face_enhancer,
71        )
72        generated_images.extend(upscaled)
73
74    image_output = []
75    for image in generated_images:
76        with io.BytesIO() as buf:
77            image.save(buf, format="PNG")
78            image_output.append(buf.getvalue())
79
80    return image_output
まとめ
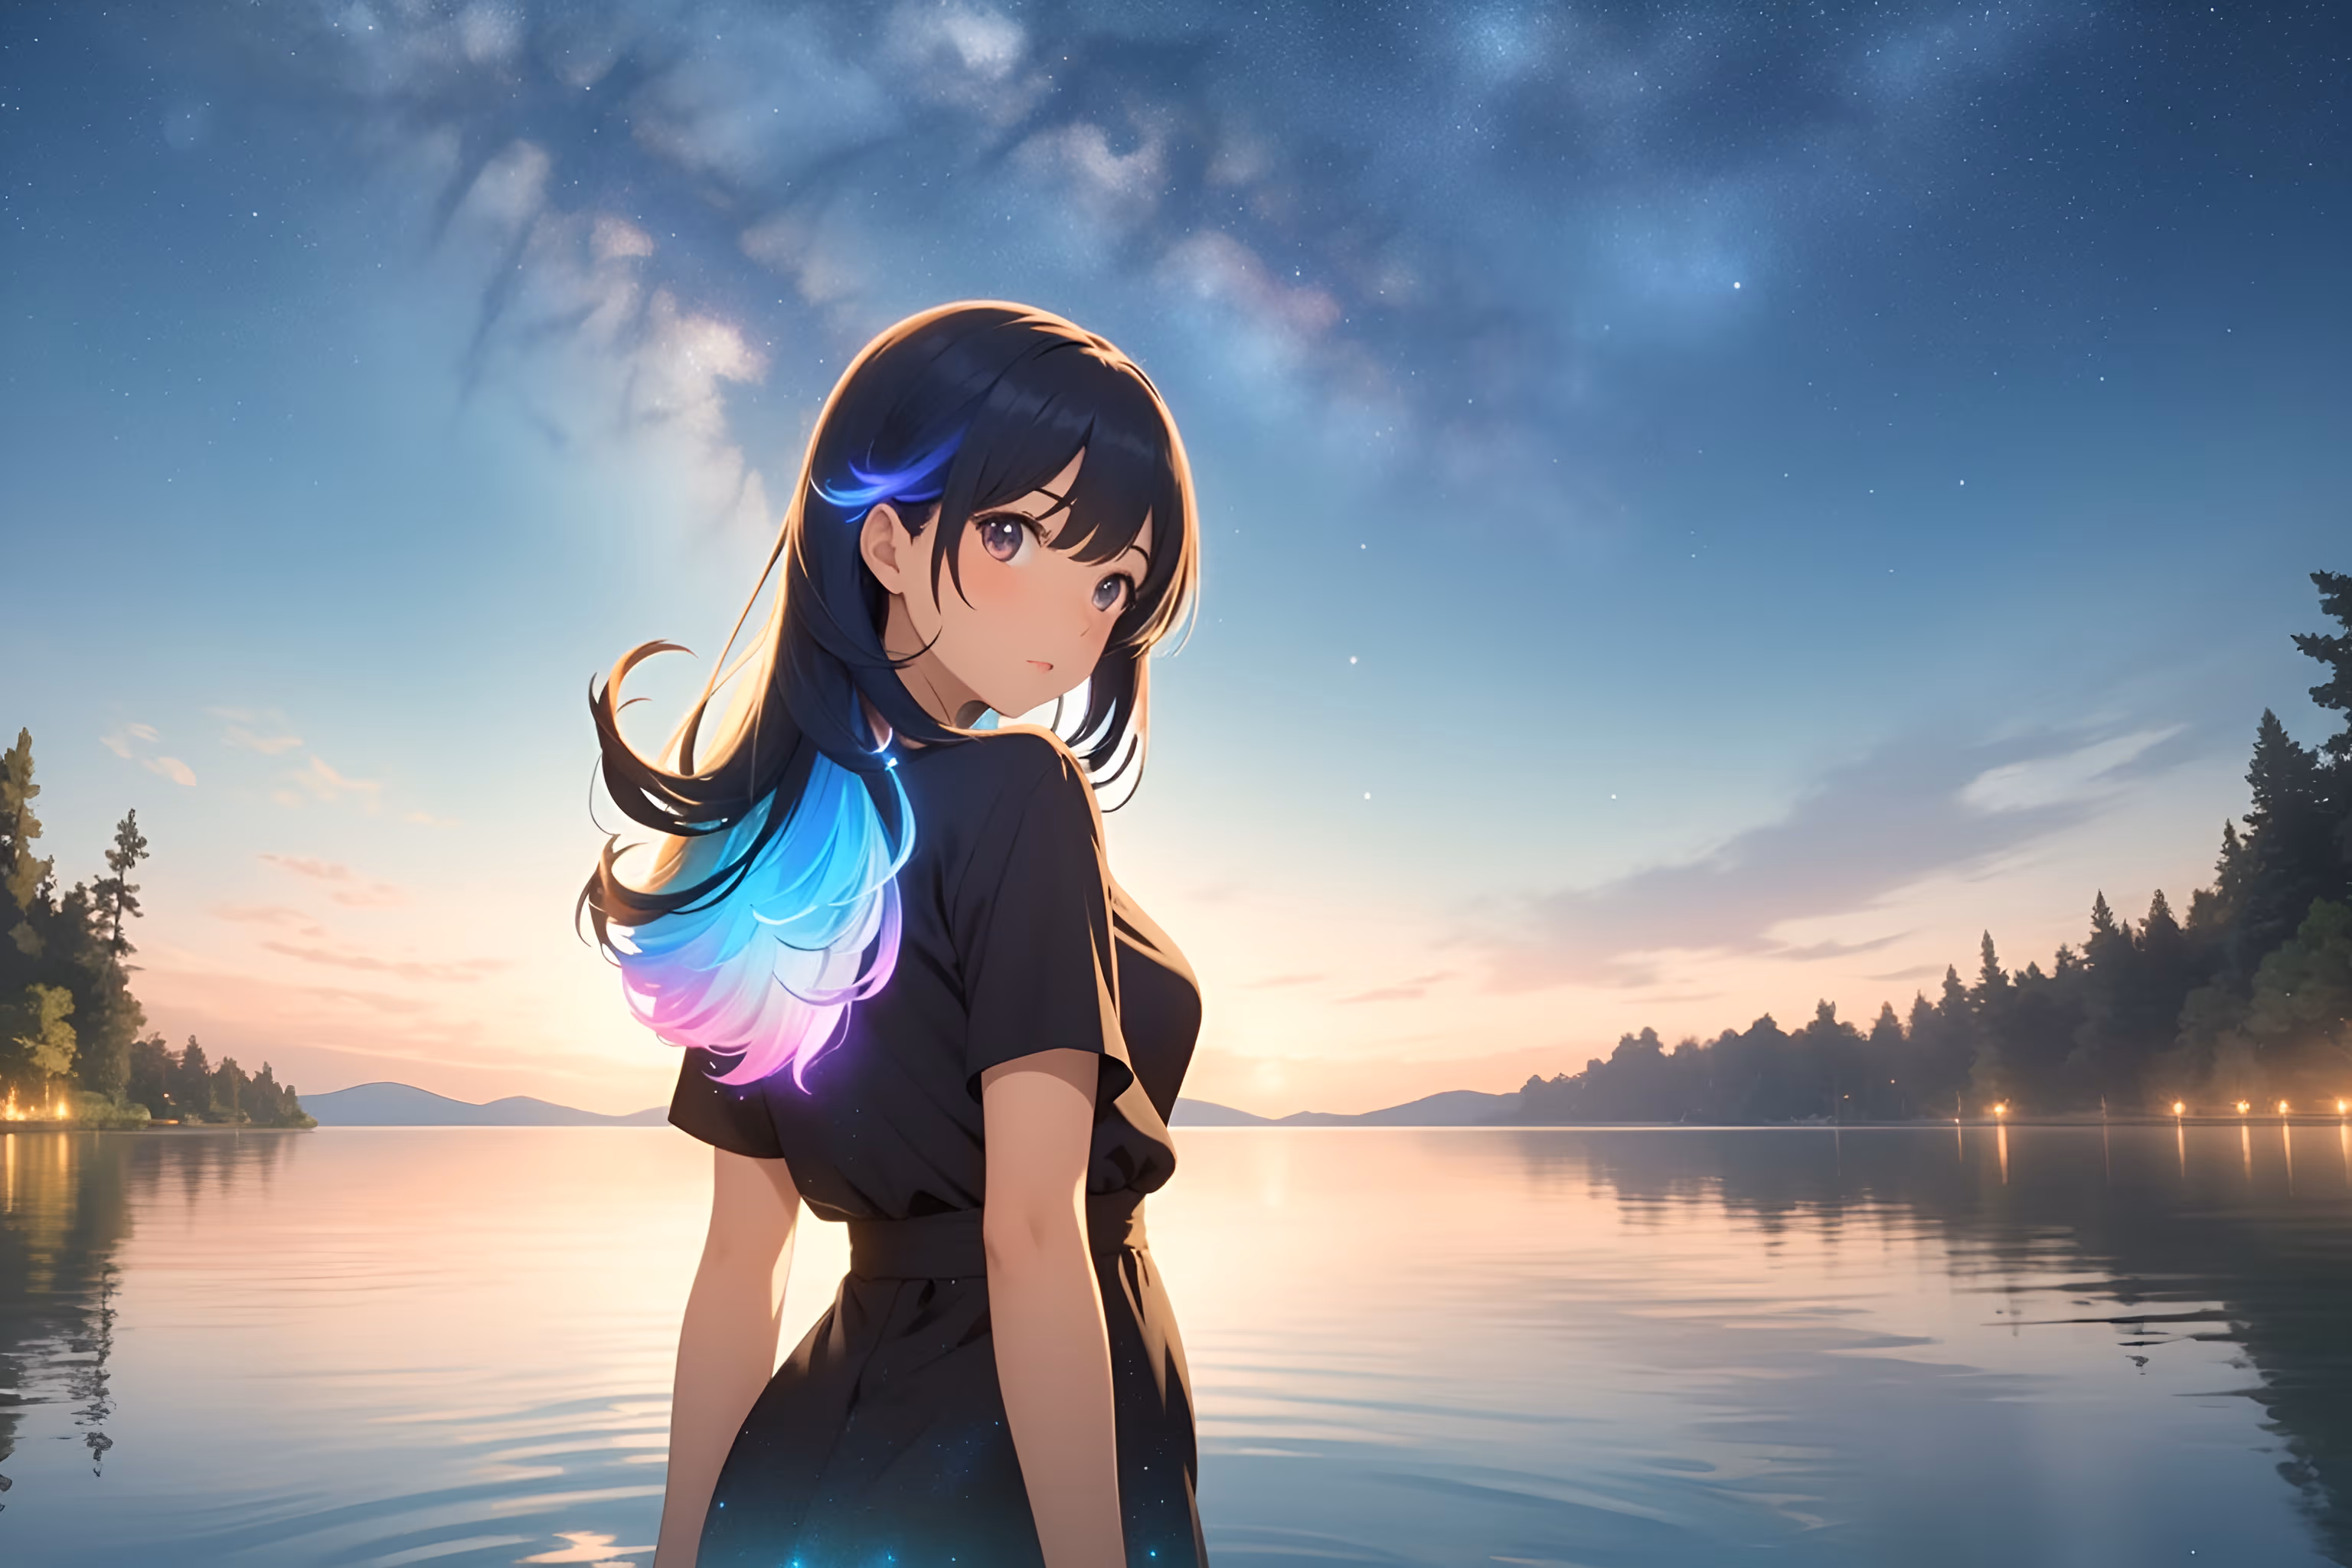
下図のような画像が得られるようになりました。
お題「暮れかかる湖に佇む黒髪の女性」
↓ベース画像

↓高解像度化